
Getting a picture in a locket can be a sentimental and meaningful gesture, making it a unique piece of jewelry that can be treasured for generations. It’s a timeless way to keep a special someone close to your heart, and it’s also suitable as a keepsake for lifelong memories. If you’re wondering how to get a picture in a locket, read on for some helpful tips and tricks.
Before you can get a picture in a locket, you’ll need to choose the right size and style of locket that will suit your needs best. Once you have your locket selected, you’ll need to print out your photo to fit the dimensions of the locket. You can use any standard printer and photo paper, or you can take the photo to a print shop to ensure the highest quality print.
Next, you’ll need to cut the photo to fit the locket size. This process may require some precision, so take your time and use fine-tipped scissors or a craft knife for best results. Once you have the photo trimmed, you can insert it into the locket and secure it depending on the locket type you have. Now you have a beautiful keepsake that will last a lifetime.
Choosing the Right Locket
When it comes to getting a picture in a locket, choosing the right locket is crucial. The locket you choose should be able to hold your cherished photo securely and offer long-lasting durability. Here are some factors to consider when selecting the right locket:
- Size: Locket sizes vary, so make sure to measure your photo before selecting a locket. You don’t want a locket that’s too small or too big for your photo.
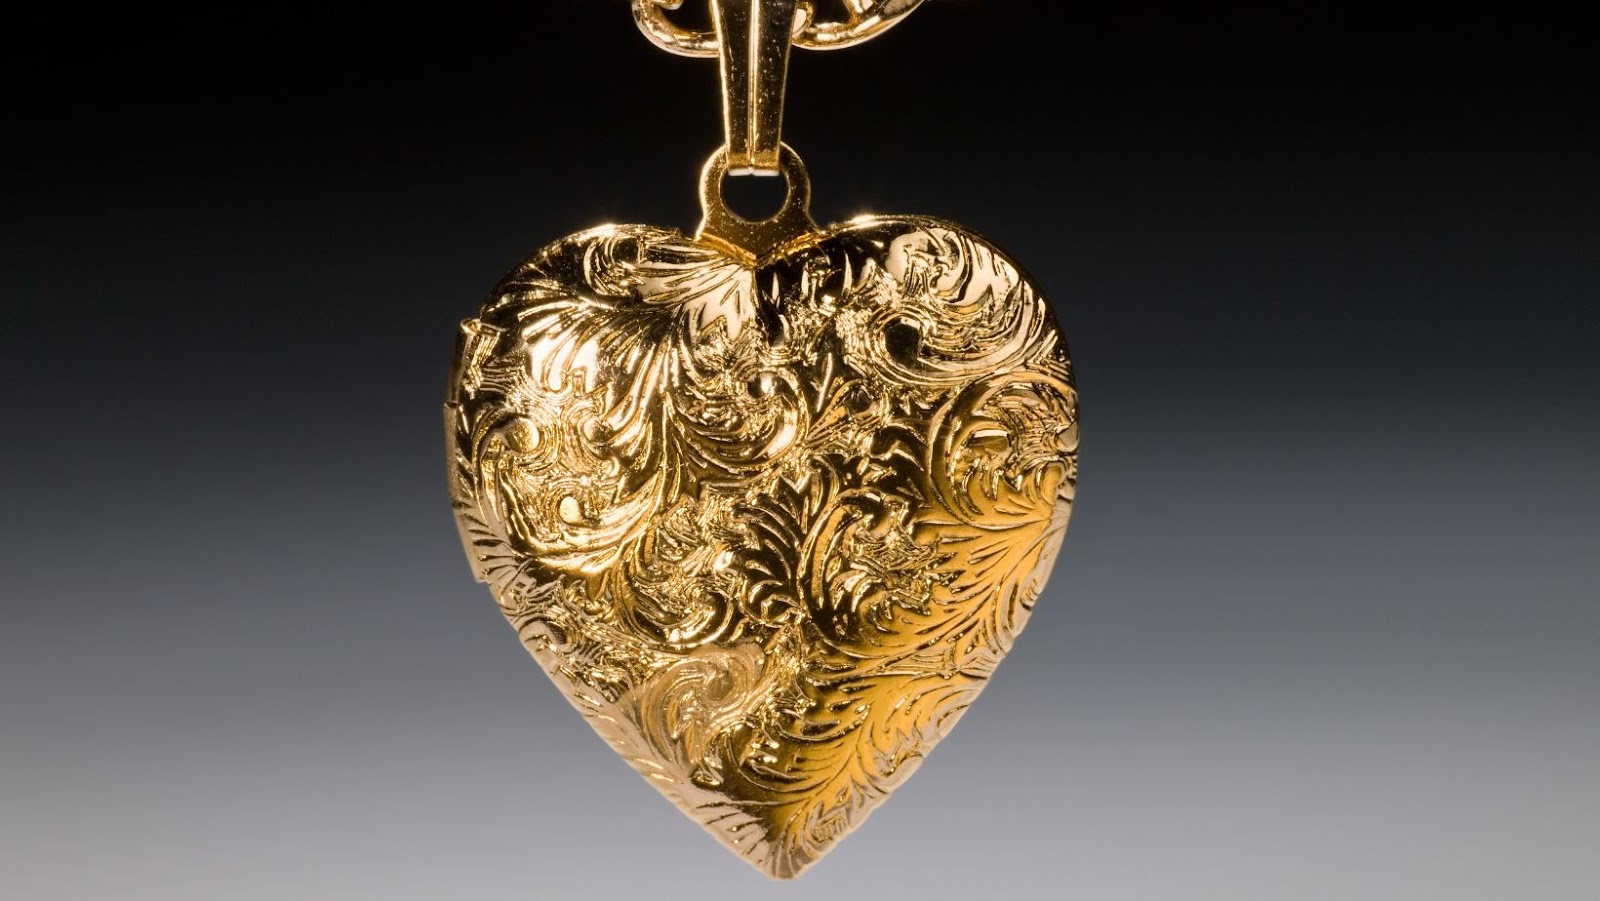
- Material: Lockets are made from various materials, including gold, silver, stainless steel, and more. Consider the look you want, as well as the level of durability you need.
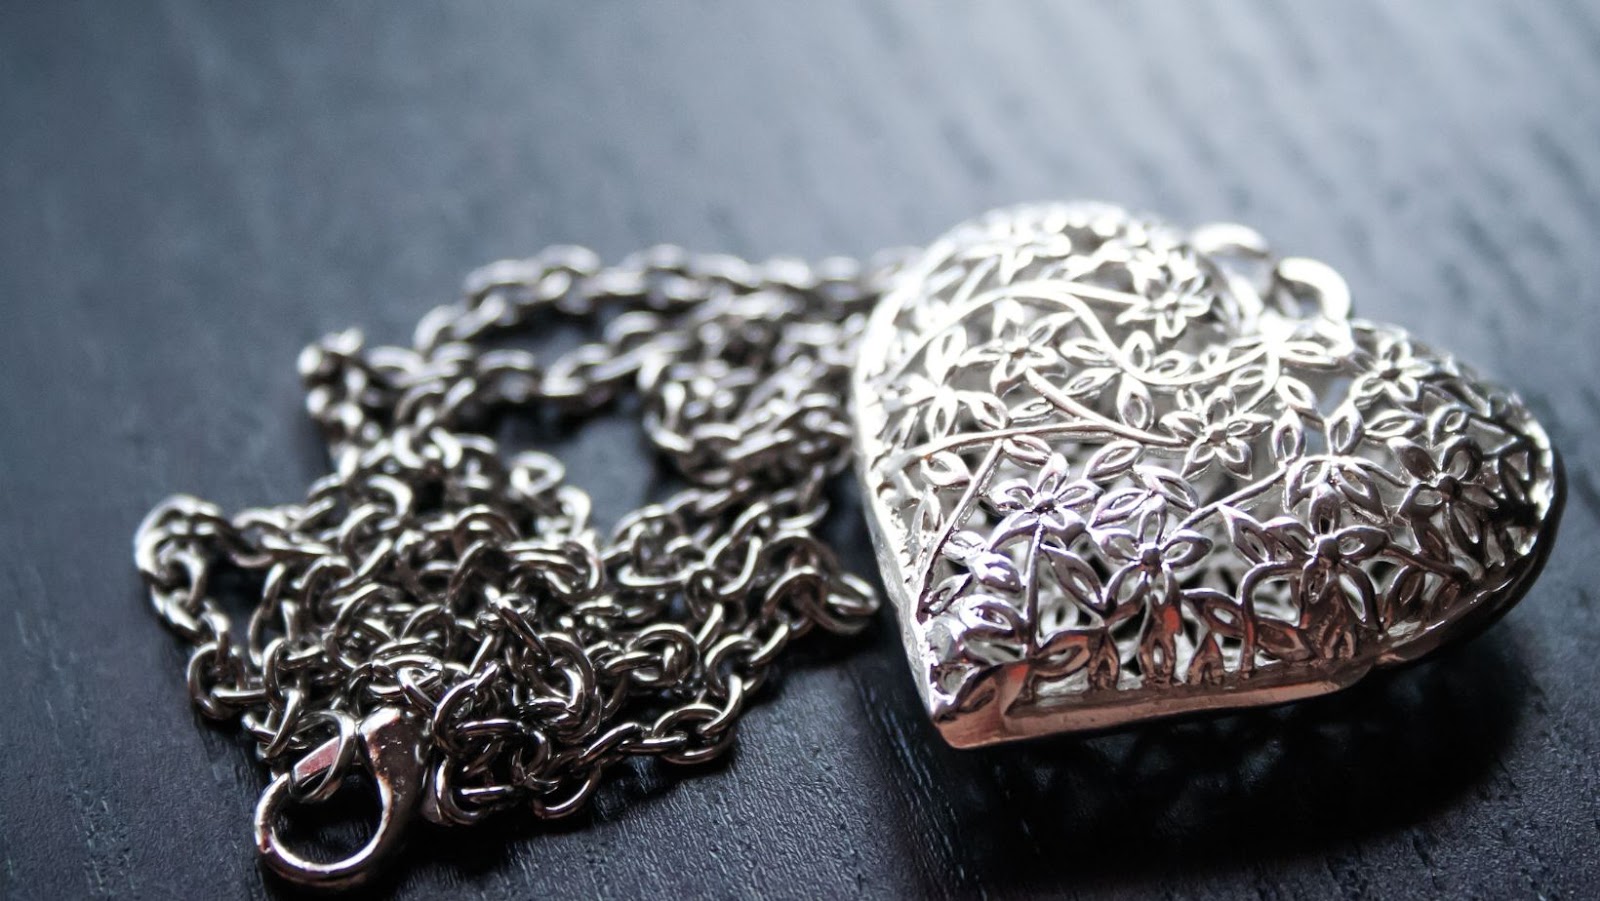
- Style: Lockets come in various styles and shapes – oval, round, heart-shaped, etc. Choose one that suits your personality and complements the photo you want to display.
- Design: Some lockets come with intricate designs, while others have a simpler aesthetic. Decide which design appeals to you and your loved ones’ style.
- Quality: Look for a locket that is well made and durable, with a secure clasp that will keep your photo safe.
- Price: You don’t need to break the bank to get a beautiful locket, but don’t skimp on quality either. Look for a locket that offers good value for your money.
By considering these factors, you can choose the right locket for you and your cherished photo. Once you’ve found the perfect locket, you can follow the steps on how to get a picture in a locket, which we will discuss in the next section.

Sizing Your Picture to Fit the Locket
Now that you have chosen the perfect locket, it’s time to select the picture that will go inside. However, before you can insert the picture, you will need to make sure it is the right size to fit. Here’s how to do it:
- Measure your locket – Before you can size your picture, you will need to know the dimensions of your locket. Use a ruler or measuring tape to determine the length and width of the space where the picture will go. Record these measurements for later reference.
- Select your image – Choose the picture you want to place inside the locket. Make sure it is a high-quality image that is clear and well-lit. Also, keep in mind that you will be cropping the image to fit the locket’s dimensions, so choose a picture that includes the entire subject and has some extra space around the edges.
- Resize and crop your picture – Using photo-editing software or an online editing tool, resize and crop your picture to match the same dimensions as your locket. Be sure to maintain the aspect ratio (the relationship between width and height) of the original image so that it doesn’t appear stretched or distorted. Crop the image to fit the exact shape of the locket opening, and make any necessary adjustments, such as brightness or contrast.
- Print and adjust – Once you have resized your image, print it out at the correct size. Place the picture inside the locket to ensure it fits properly. If it’s too large, trim the edges with scissors or a craft knife until it fits. If it’s too small, print a new copy at a slightly larger size and repeat the process until it fits perfectly.
With these steps, you can easily size your picture to fit into your locket. By taking the time to properly size and crop your image, you will ensure that your locket looks its best and the picture inside remains secure.
Inserting and Securing the Picture in the Locket
Now that we have prepared the picture to fit inside the locket, it’s time to insert and secure it. Follow these simple steps to successfully add your picture to the locket:
- Open the locket: Depending on the type of locket you have, there may be a latch or clasp holding it shut. Gently open the locket to reveal the empty photo frame.
- Place the picture in the locket: Carefully insert the picture into the photo frame. Make sure the picture is correctly aligned and facing in the direction you want it to be seen.
- Secure the picture: Once the picture is in the locket, you need to make sure it stays there. At this point, you can use one of two methods to secure it:
- Adhesive: Place a small amount of adhesive, such as double-sided tape or glue, on the back of the picture. Then, press the picture into the photo frame, making sure it is smooth and flat.
- Tabs: Some lockets have small tabs that fold down to keep the picture in place. If your locket has these, gently fold them over the edges of the picture to hold it in securely.
- Close the locket: Once the picture is secured, gently close the locket. Make sure it snaps shut properly and that the picture is visible through the frame.
By following these simple steps, you can easily add a picture to your locket and keep it secure for years to come. Remember to handle your locket with care and avoid exposing it to water or extreme temperatures to ensure your picture stays safe and protected.